Convenience is something that I’ve really missed since going gluten-free. I never realized how lucky I was to be able to eat anywhere or to enjoy the small luxury of placing a Seamless order to have pizza delivered.
There have been a few occasions where I’ve broken down and just ordered the one gluten-free pizza option from a local pizza shop. The sad, anemic, cheese-only 10″ pie that was delivered looked like it had been ripped out of a frozen pizza box and baked. To add insult to injury, on one occasion the delivery guy must have turned my box upside down and all the cheese was stuck on the lid of the box, and a mangled soggy crust with red sauce lay below naked.
My next attempt at quick in-home pizza was skipping the pizzeria and heading to the frozen sections of my local grocery stores to pick out a few gluten-free pizzas to bake myself. Again, I was incredibly disappointed. Every version was filled with gums, some had eggs in the crust (which turns any pizza crust into a tart shell in my opinion), and none of them satisfied my longing for the thin crust pizza I used to love.
Giving up on simplicity, I started my own from-scratch gluten-free pizza experiments at home in earnest. I pulled out some of my old pizza crust recipes, started blending flours, had some success with sourdough crusts, and was relegated to the fact that satisfying gluten-free pizza was just not a quick meal option, unless I wanted to shell out $25 a pie at one of my favorite GF friendly Manhattan pizzerias.
And then, in my hunt for various pizza crust recipes, I discovered a “two-ingredient” pizza crust recipe online.
Two ingredients? That sounds far too easy. How could that even be?
But sometimes the joy of simplicity can surprise you.
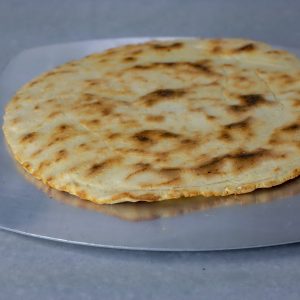
The two-ingredient pizza crust called for a 1:2 ratio of 2% or whole Greek yogurt to self-rising flour by volume, and no rising time.
Since I didn’t have any gluten-free self rising flour, I decided to make my own, and thus increased the original two ingredients to five: baking powder, salt, psyllium husk, and Bob’s Red Mill All-Purpose Gluten-Free baking flour mix. The flour mix had been gifted to me from another gluten-free friend, and had been languishing in my pantry. I never looked at the ingredients, but I assumed that this was another rice flour based mix with xanthan gum like most of the other premixed GF flour blends I’d seen. I was pleasantly surprised to see a very similar flour blend to the one I had been custom mixing for my sourdough pizza crust recipes without any added gums: garbanzo bean flour, fava bean flour, sorghum flour, and potato and tapioca starches.
My experiments with this recipe came out so well that I might start making a self-rising flour mix just for this particular recipe so that whenever the pizza craving strikes, I’ll just need to mix my homemade self-rising flour with some Greek yogurt for a super speedy “2 ingredient” pizza crust. If you decide to go this route, you’ll just need 136 grams of your pre-made self rising flour mix to 126 grams of yogurt.
I haven’t tried using a non-dairy Greek yogurt in this recipe yet, but that will be my next trial. I’m hoping that it’s just as successful so the GFCF camp can also have homemade pizza night in 20 minutes.
Also, if you don’t have a pizza stone or steel I would *highly* recommend investing in one or both for any kind of pizza baking. One of the best gifts Jay has purchased for me is the 1/2″ baking steel that now has a permanent spot in our oven. Our pizza oven set up is the baking steel on the middle rack of the oven to parbake the crust, and our old pizza stone on the top rack right underneath the broiler to finish cooking the pizza once it is finished with sauce, cheese, and toppings.

| Prep Time | 10 minutes |
| Cook Time | 10 minutes |
| Servings |
10" round thin-crust
|
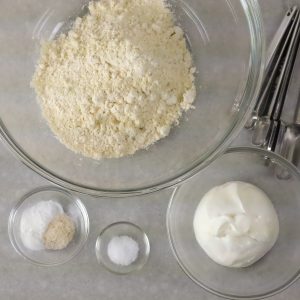
- 126 g plain greek yogurt (2% or whole milk) 1/2 cup
- 126 g Bob's Red Mill Gluten Free AP Flour 1 cup
- 1 teaspoon baking powder
- 1/2 teaspoon salt
- 1/2 teaspoon psyllium husk
- 1/2 teaspoon garlic powder (optional)
Ingredients
|

|
- Place your pizza stone or pizza steel into your oven on the center rack, and preheat to 550 degrees F.
- Mix all dry ingredients together.
- Mix yogurt into dry ingredients. The dough will look like a crumbly disaster - but this is normal.
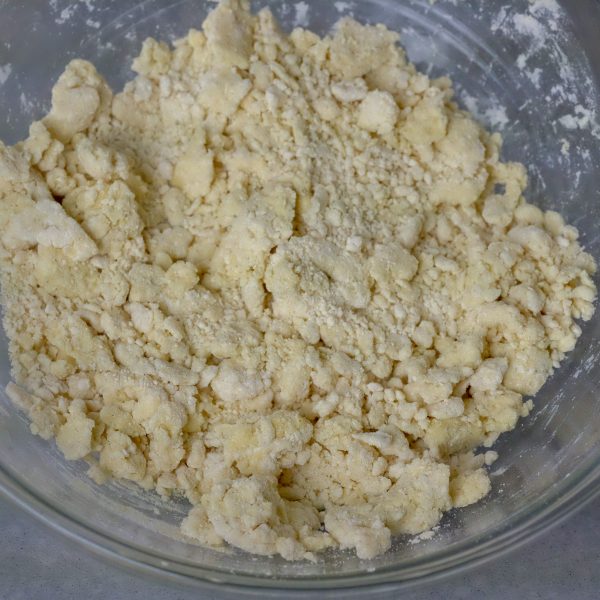
- Turn dough crumbles onto a flat surface to knead dough into a ball. Even though it may be tempting to add flour to your countertop or board - don't do it. The crumbs will come together to form a dough ball with a little kneading.
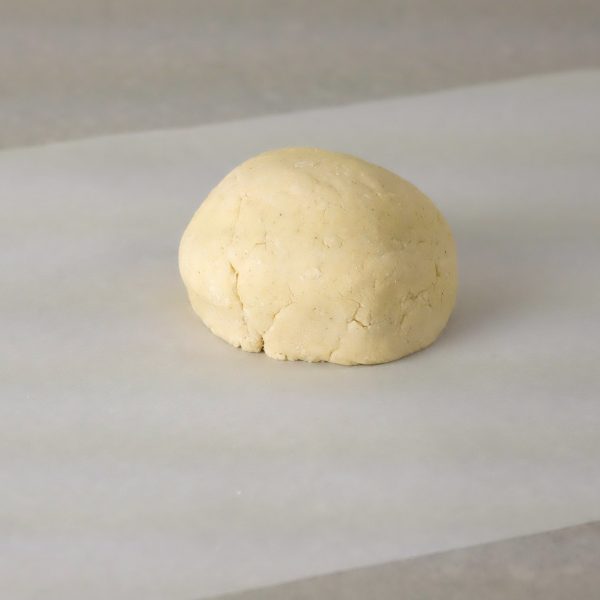
- Once you have formed your dough ball, place on an ungreased piece of parchment paper and press into a flat disk, about 5" in diameter.
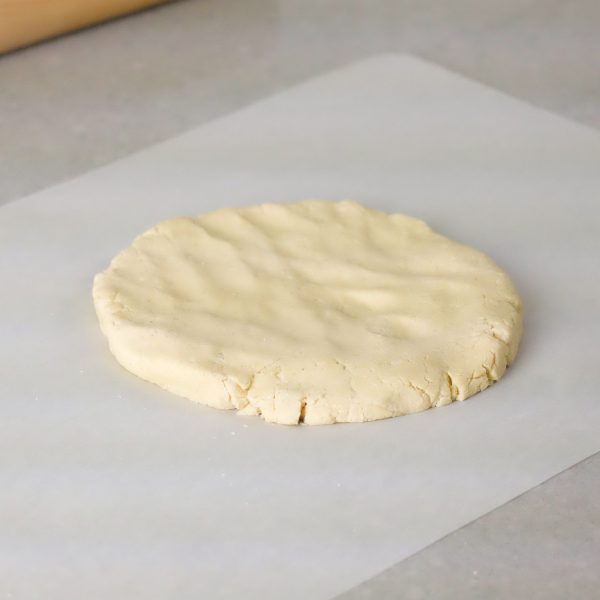
- Place another piece of parchment on top of the dough, and roll out into a 10" circle.
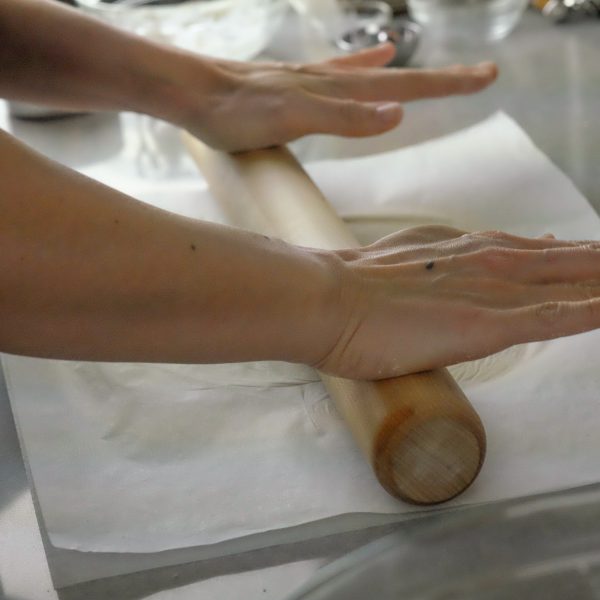
- Peel off parchment from the top of the dough, place back down, flip over, and peel off parchment from the other side of the dough. This makes it much easier to remove the parchment paper after parbaking the crust.
- Finish shaping crust by forming a rounded edge. If you like your pizza crust to be flat, dock the crust by poking it with a fork. Personally, I like my crust to have bubbles in it, so I skip the docking.
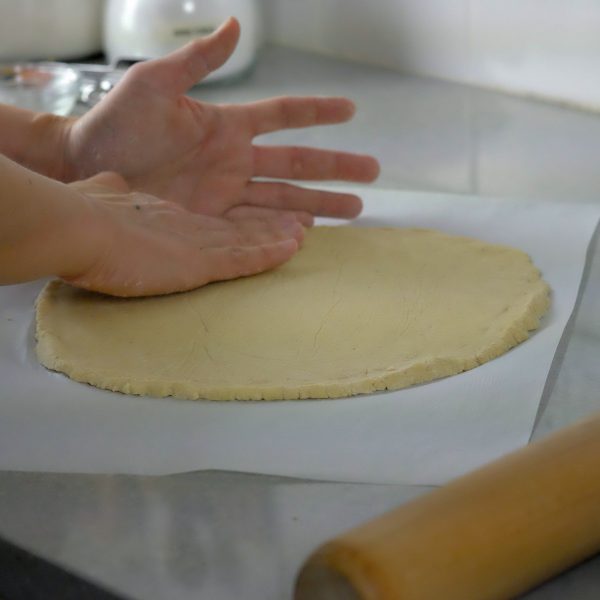
- Place the formed crust still on parchment onto a pizza peel or upside down cookie sheet, and slide onto hot pizza stone or steel. Bake for 5 minutes.
- Remove parbaked pizza crust from the oven, flip over and peel off parchment. Flip back over, so the darkened bottom is on the bottom and add toppings of your choice to the top of the parbaked crust (sauce, cheese, veges, meat, etc.).
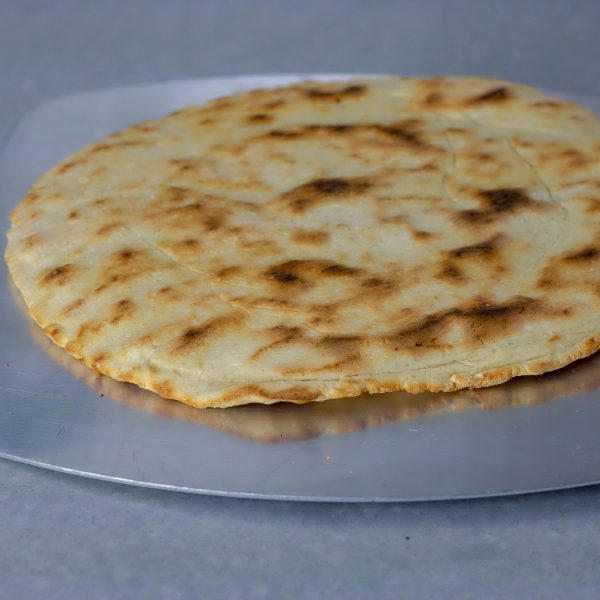
- Place oven rack in closest position to the broiler, and turn your oven to broil. Place pizza stone or steel on the rack.
- Place pizza on stone or steel and broil for another 5-6 minutes, or until done to your liking.
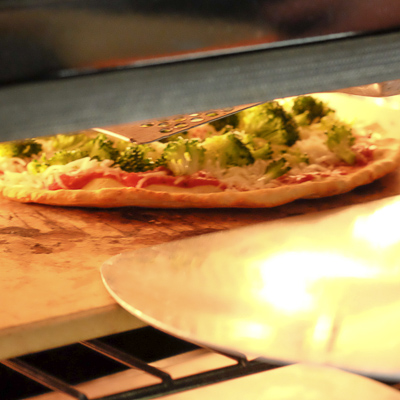
- Remove from broiler, slice, eat, and enjoy!


Leave a Reply