 With Mardi Gras coming up next Tuesday, I thought it would be the perfect time to make a king cake. I’ve eaten plenty of king cake, but I’ve never baked one at home, so I had some recipe research to do. The New Orleans king cake I’ve had in the past resembled more of a danish than a cake, so initially I thought I’d make a danish dough. However, after reading way too many online recipes for both gluten-filled and gluten-free king cakes, I found that brioche dough is pretty traditional, and it seemed like a far easier way method than making a laminated danish dough.
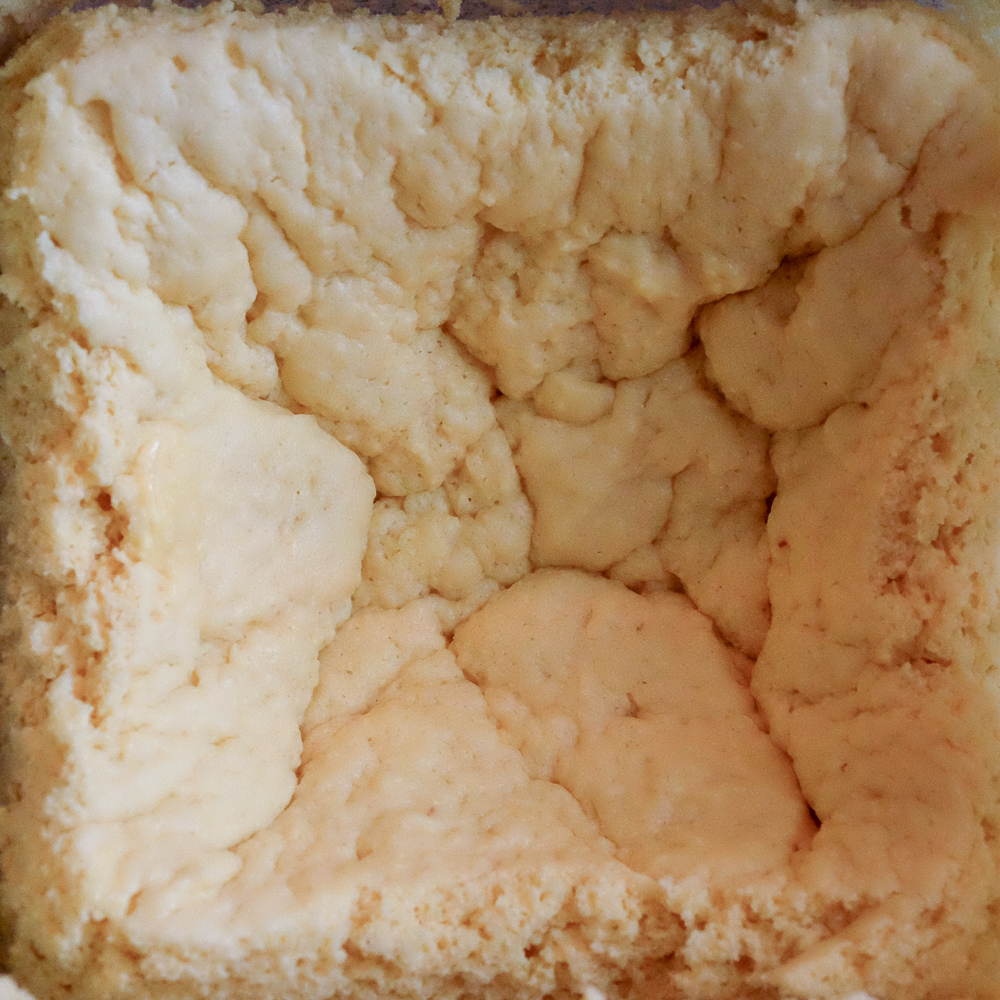
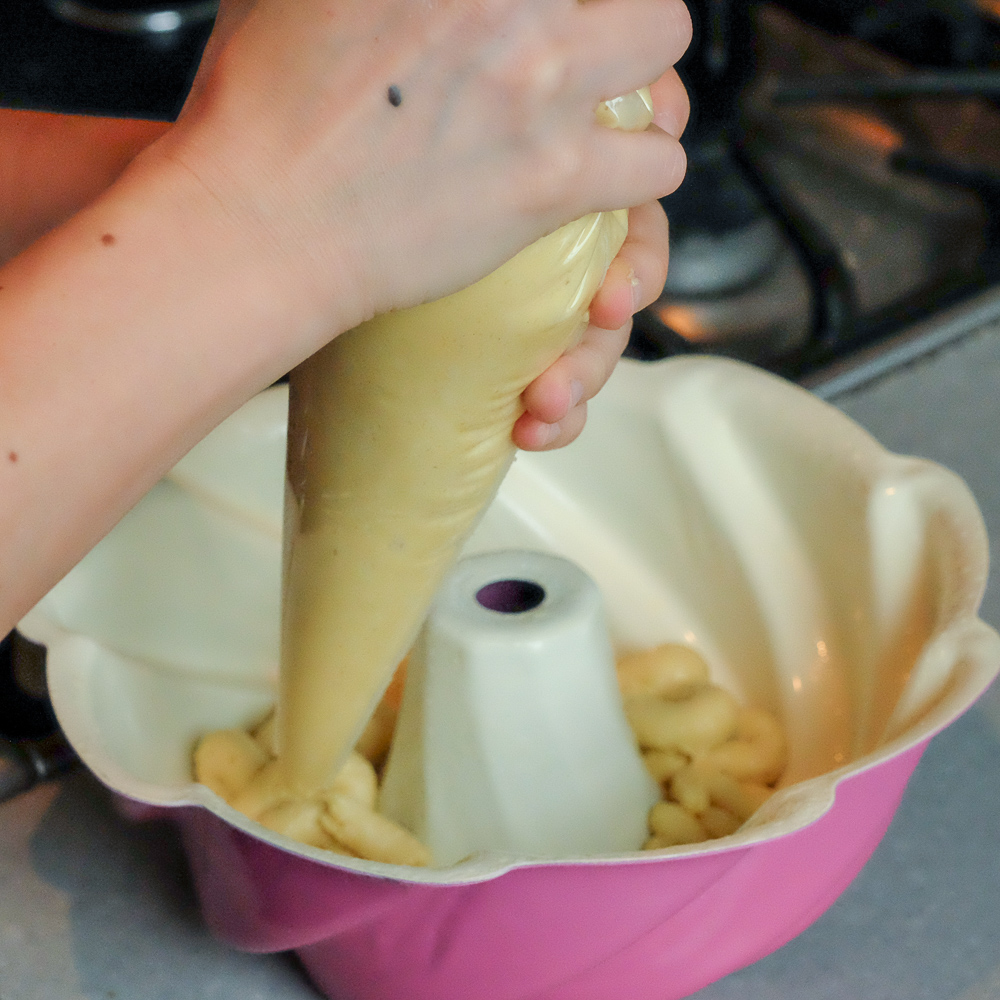
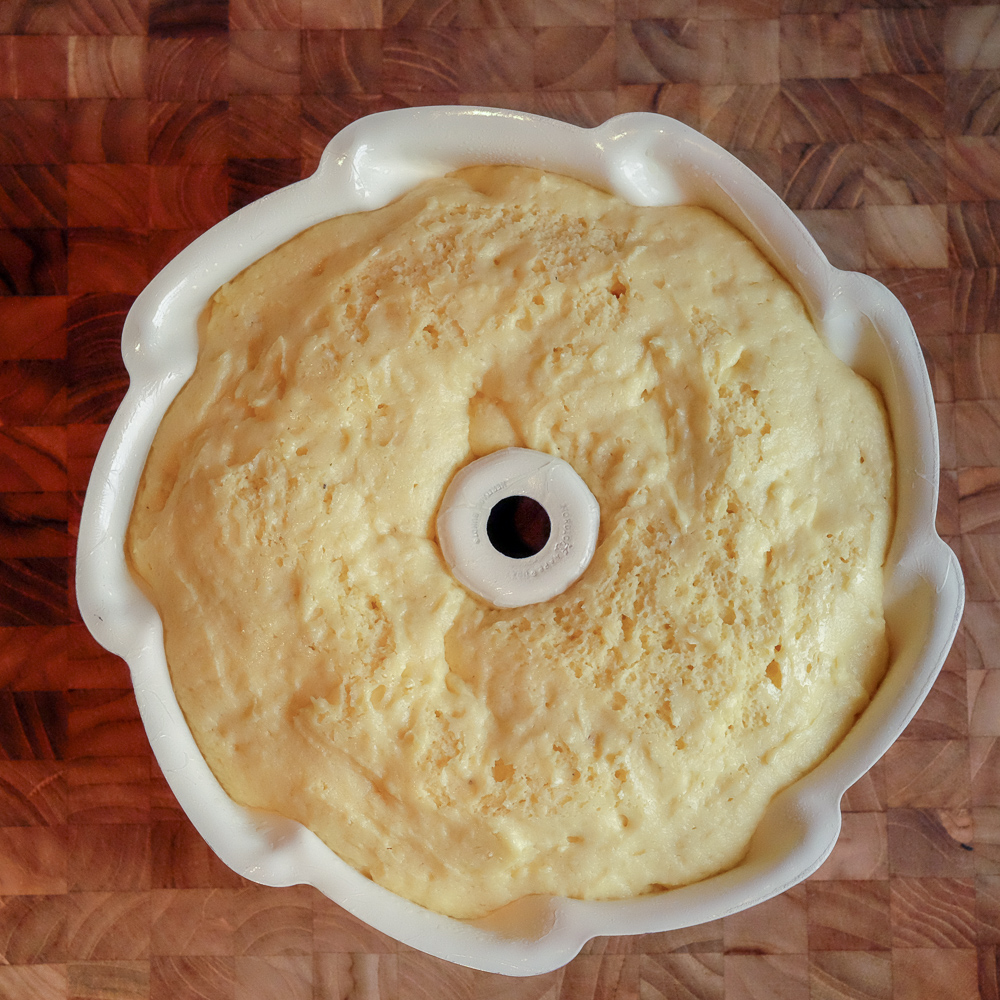
I really wanted to create a dough that was rollable, but I also wanted to avoid using any gums. When I took the dough out after a night in the fridge, it seemed like rolling might be possible – but when I tried it on a floured Silpat – the results were disastrous. This super soft enriched dough sticks to everything, and was impossible to roll, even on a Silpat. In recipe recovery mode, not wanting to throw out a pricey dough, I ended up piping the dough directly into a pan to save it. This method seemed to work out well, and was a lot cleaner.
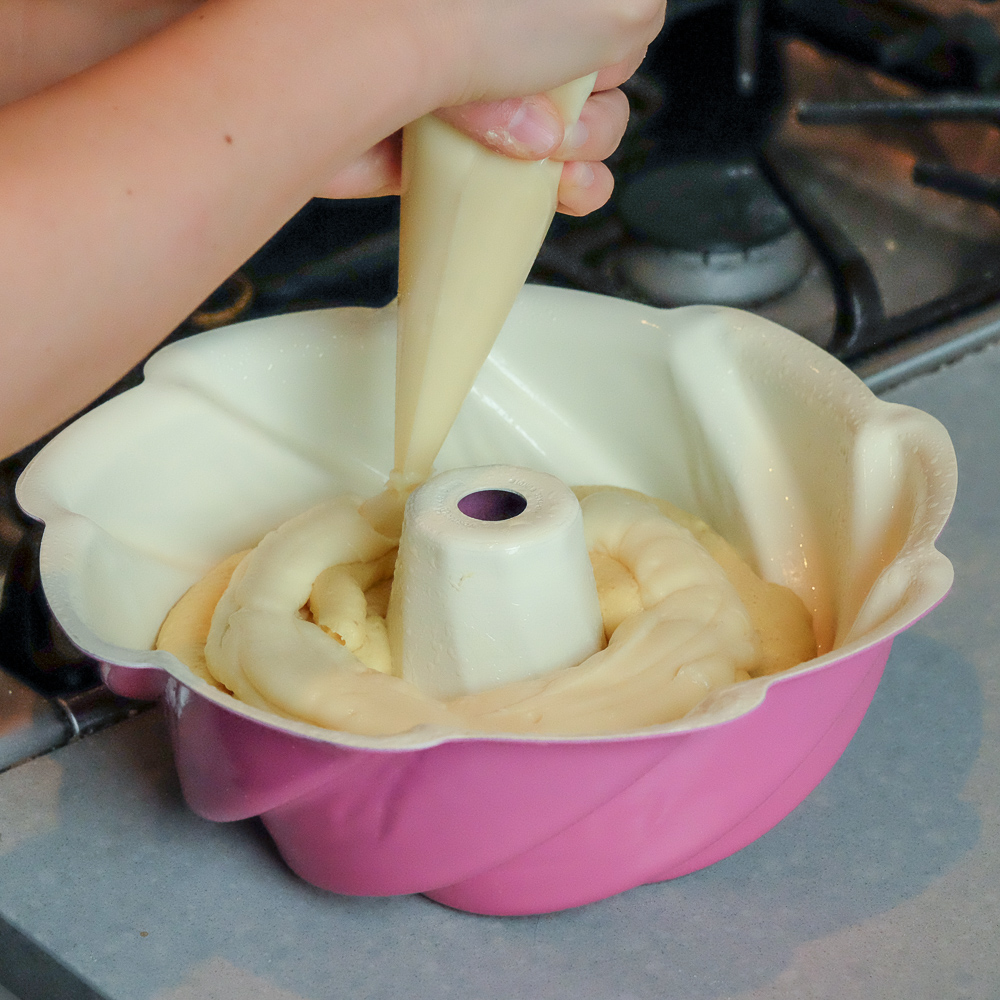
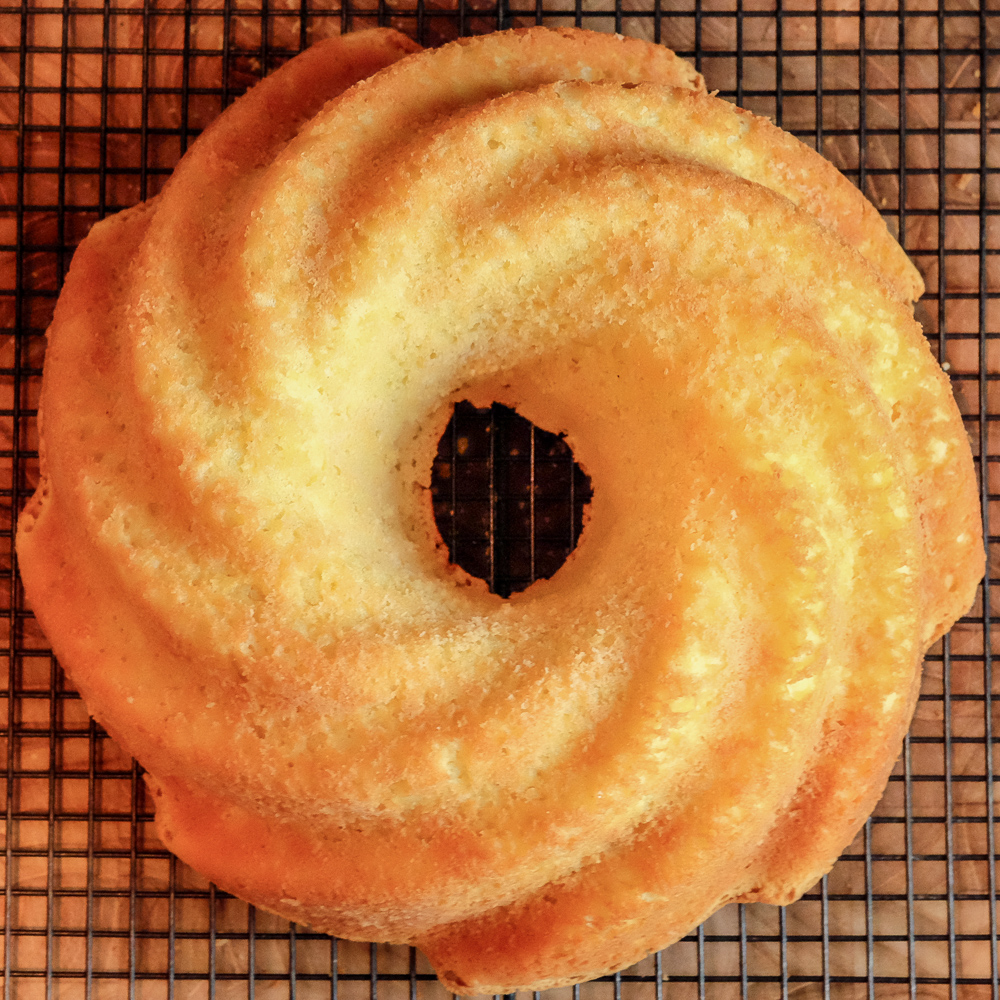

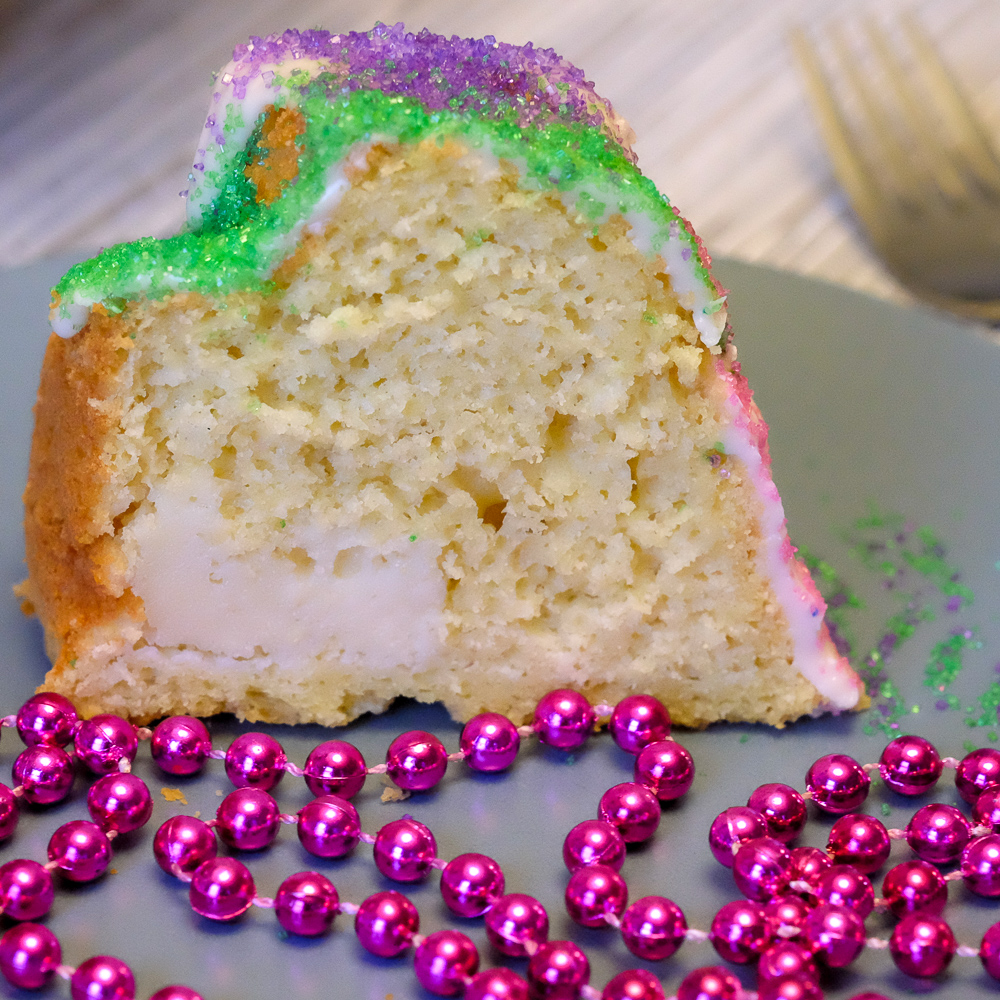
I was afraid that the cream cheese filling would be a little weighty, so I piped about 2/3 of the dough into the bundt pan before piping the cream cheese filling on it, afraid that it would sink in too much and go to the top of the bundt pan. To my surprise, this dough is pretty strong – and the cream cheese frosting ended up being pushed up towards the base of the cake during proofing instead of sinking towards the top! In the recipe below, I’ve noted to pipe only 1/3 of the dough into the pan before piping the filling in, so that the filling is more in the center of the cake when baked.
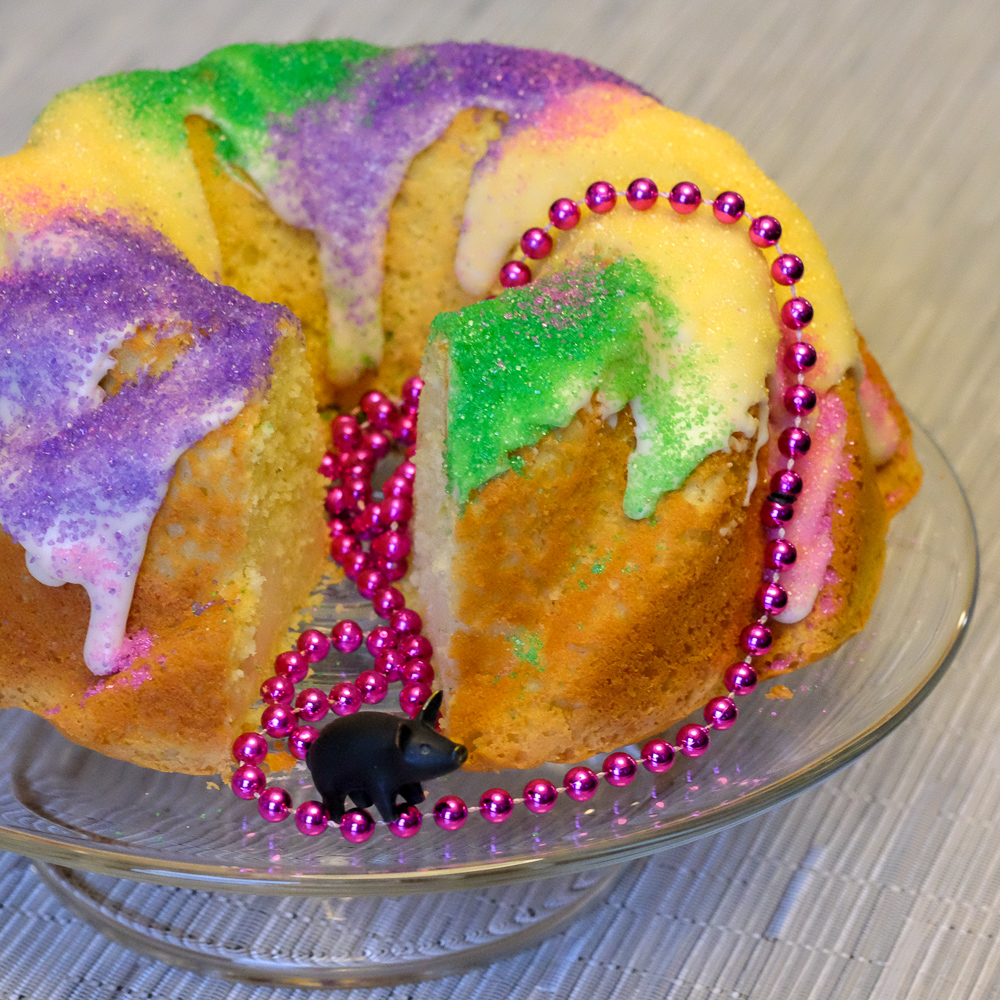
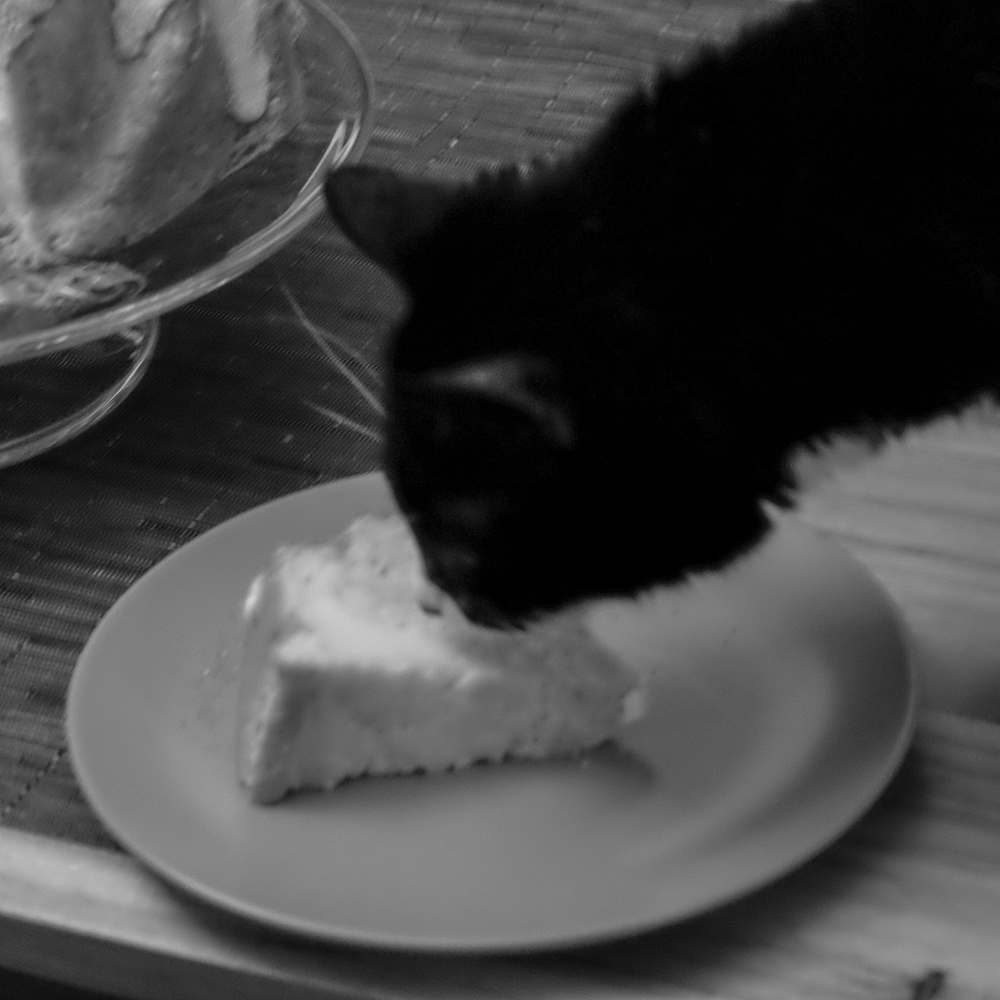
While the crumb doesn’t look that impressive, this brioche king cake was incredibly delicious. The cream cheese filling was also very tempting for my furry kitchen assistant, who you can see in the slideshow “helping” while I was shooting it. 🙂

| Prep Time | 20 minutes |
| Cook Time | 40 minutes |
| Passive Time | 9 hours |
| Servings |
king cake
|
- 2/3 cup milk warmed, to 110 degrees F
- 3 1/2 teaspoons active dry yeast
- 90 g sugar
- 6 large eggs at room temperature
- 130 g sorghum flour
- 20 g superfine brown rice flour
- 55 g superfine sweet rice flour
- 40 g tapioca starch
- 40 g potato starch
- 20 g psyllium husk (4 teaspoons)
- 1/4 teaspoon powdered pectin
- 1/2 teaspoon fine sea salt
- 170 g butter (12 Tablespoons)
- coconut oil spray
- 227 g cream cheese softened
- 100 g sugar
- 3 Tablespoons sweet rice flour
- 1 large egg lightly beaten
- 2 teaspoons vanilla
- 250 g confectioners' sugar
- pinch fine sea salt
- 1 1/2 teaspoons vanilla
- 3 Tablespoons milk (+1-2 teaspoons, or enough to make a thick but pourable glaze)
- colored sugar purple, green, gold, fuschia
Ingredients
FIlling
Frosting
|
|
- Mix sorghum, brown rice, and sweet rice flours with tapioca and potato starches. Add in psyllium husk and powdered pectin, and stir to combine.
- Proof yeast in warm milk, with 2 Tablespoons of the sugar, for about 5 minutes.
- In your stand mixer bowl, with the paddle attachment, add the proofed yeast mixture, and slowly add the eggs at medium-low speed, and mix until fully combined. Add the flour mix, the remaining sugar, and the salt, and mix until dough comes together (about 2 minutes).
- Increase the mixer to high, and add the butter by Tablespoons, beating until all the butter is fully combined into the dough (about 5 minutes). The dough will look like a thick batter.
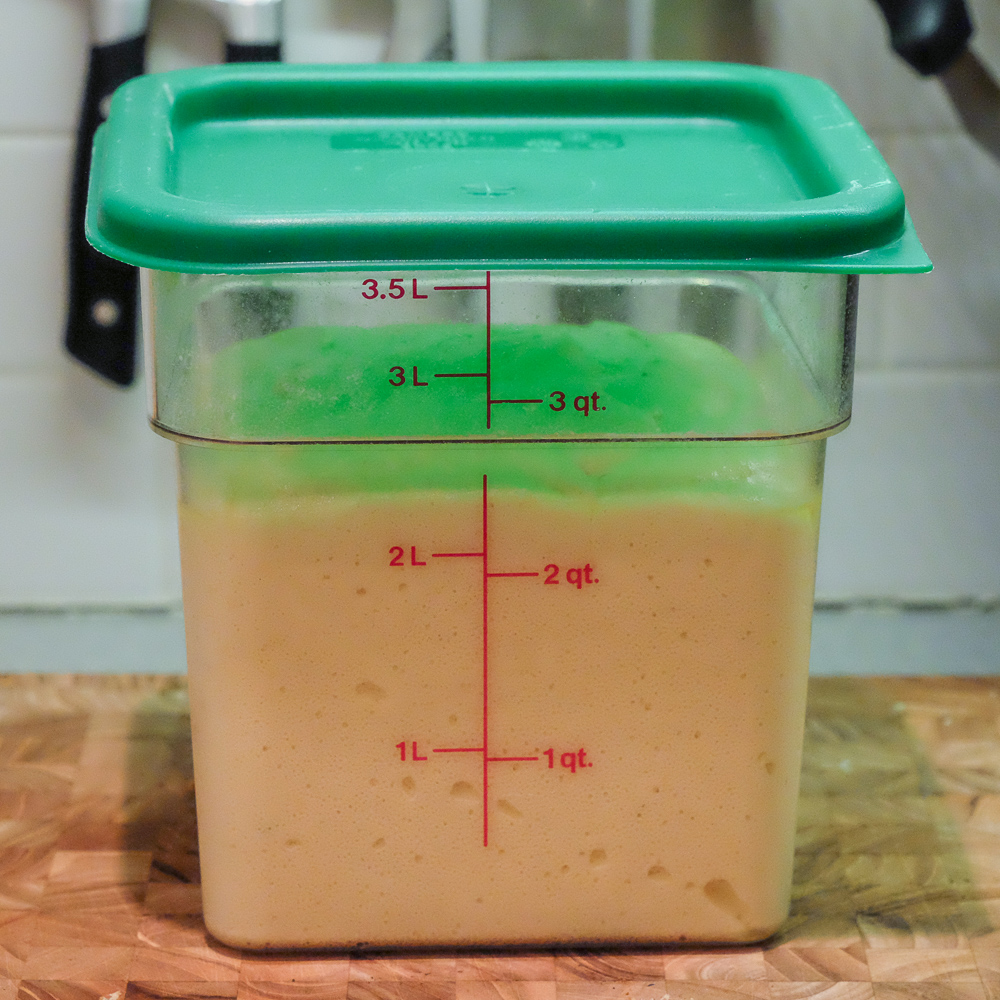
- Scrape the dough into a greased container and cover. Let the dough proof for 1-2 hours at room temperature until it doubles in size.
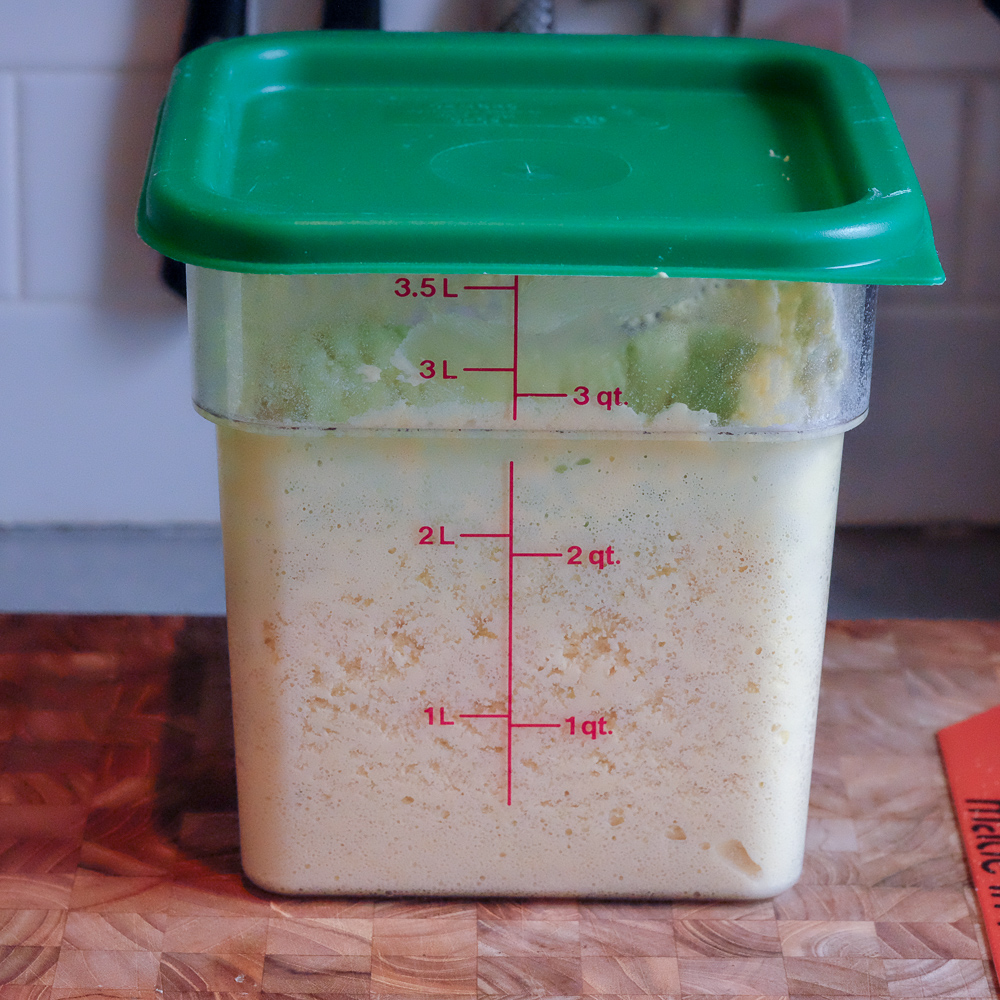
- Refrigerate the dough overnight, for at least 8 hours.
- Put all ingredients in the bowl of your stand mixer, and beat with the paddle attachment until mixture is smooth.
- Fill a large piping bag with the filling.
- Liberally spray a 12-cup bundt pan with coconut spray.
- Remove the brioche dough from the fridge, and place into a large piping bag.
- Pipe 1/3 of brioche dough into the greased bundt pan.

- Pipe the filling on top of the dough in the bundt pan, taking care not to let the filling touch the sides of the pan.

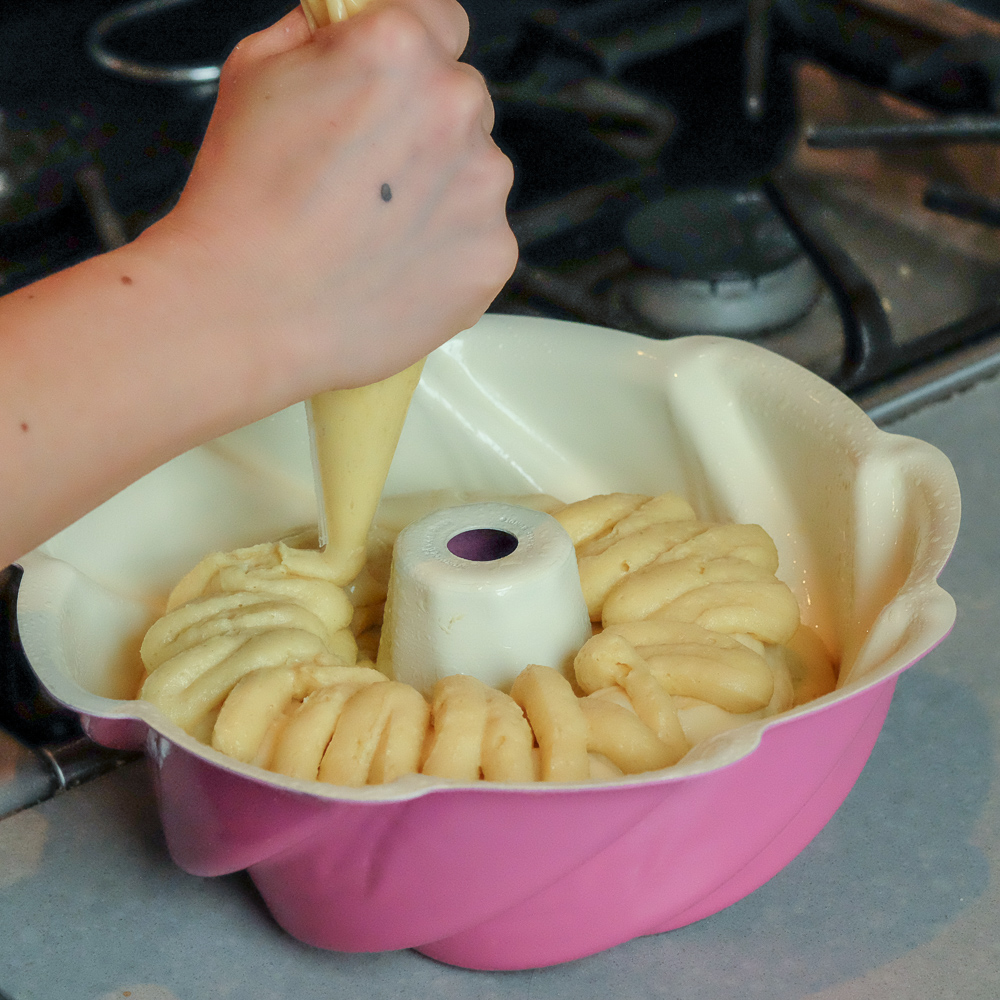
- Pipe the remaining brioche dough over the filling, and cover completely using a small offset spatula or butter knife.

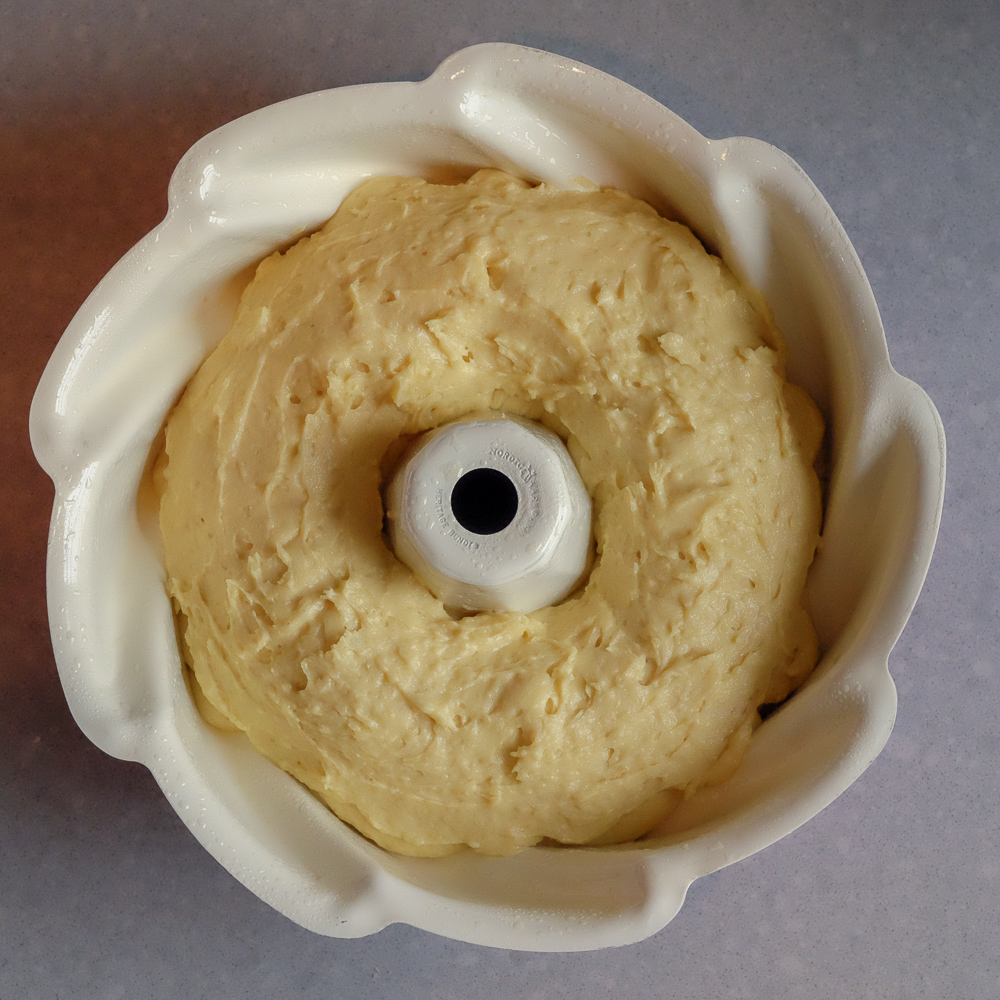
- Cover the bundt pan with a greased piece of plastic wrap, and set aside to proof for one hour. Proofing in your microwave works well for this particular dough.
- Preheat the oven to 350 degrees F, and place a rack in the center position.
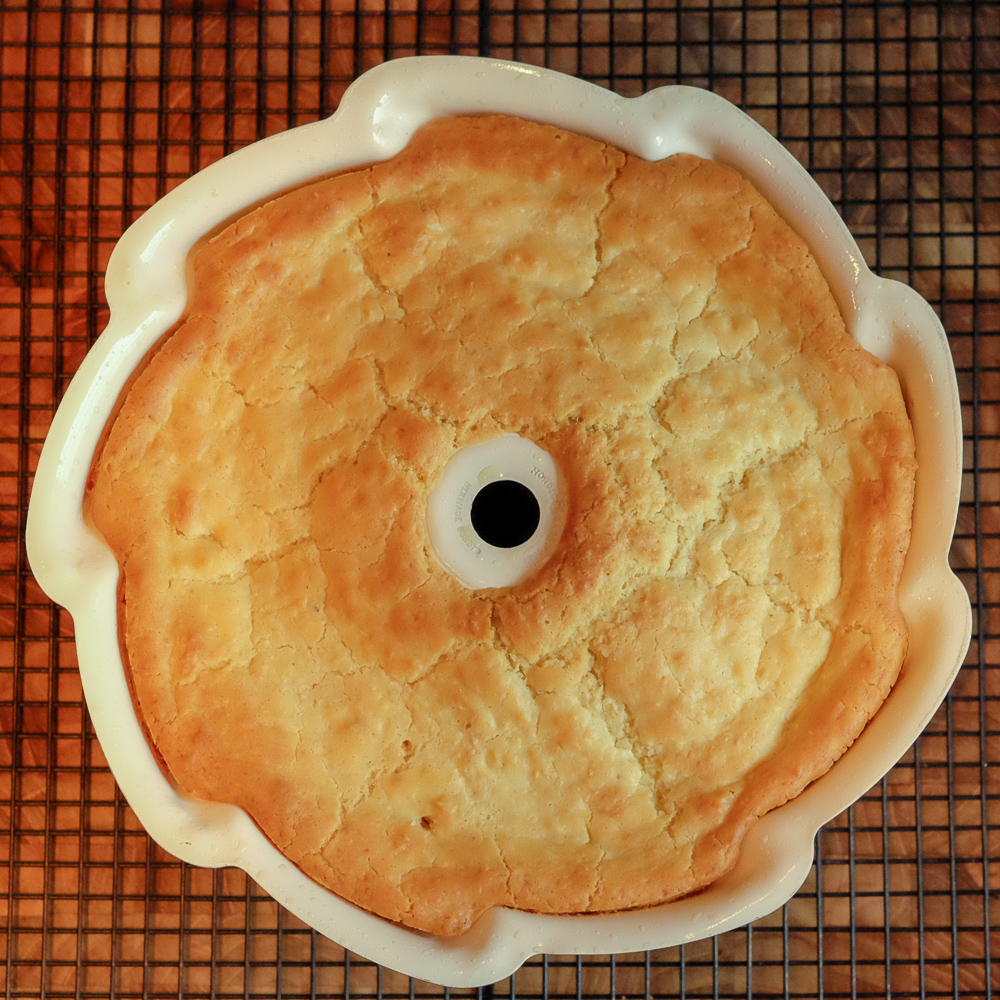
- Place the bundt pan on a sheet pan and place in the oven. Bake for 40 minutes, or until the top is golden brown.
- Remove from oven, and let cool for 5-10 minutes in the pan on a wire rack. Remove cake from pan, and cool completely on a wire rack.
- If you are inserting a baby, bean, mini-pig or other small trinket, flip the cake over and insert it.
- Place cake, still on wire rack, over a sheet pan or a piece of parchment for easier clean-up.
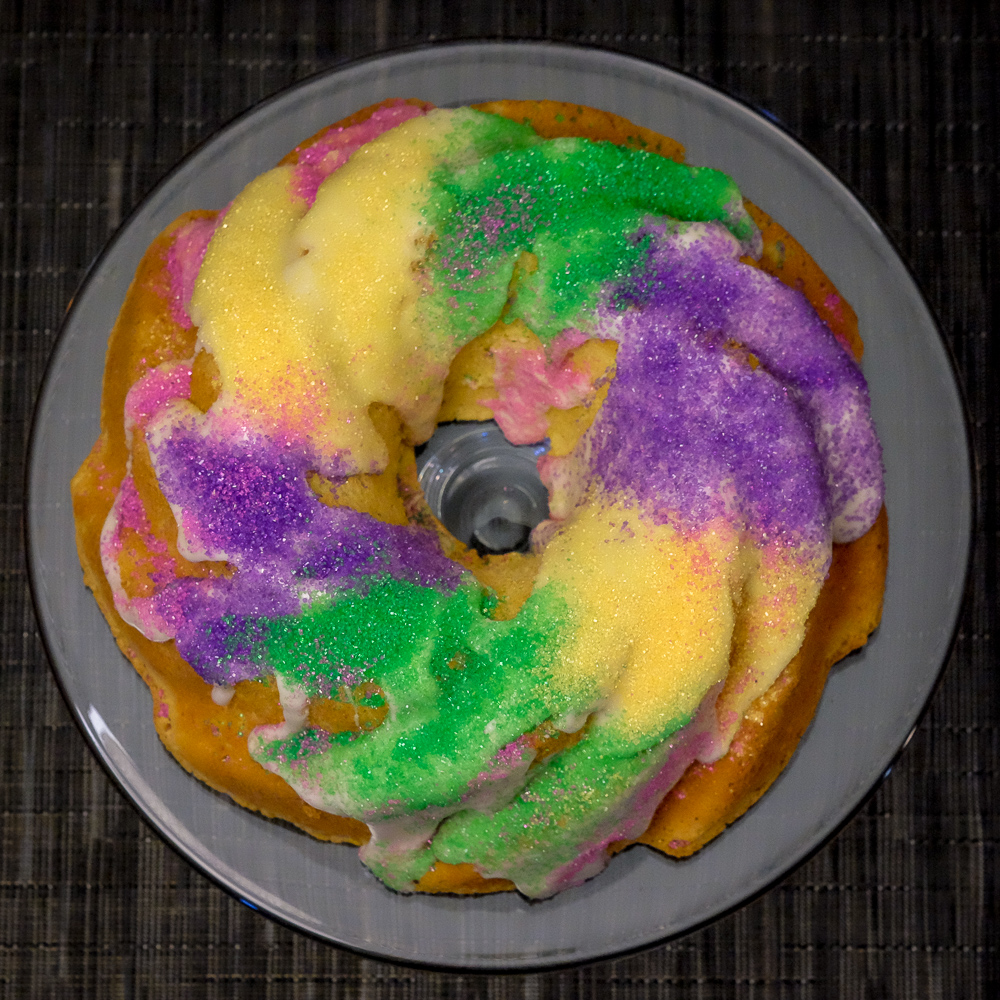
- Whisk all frosting ingredients together. Add additional teaspoons of milk until the frosting is a thick, but pourable glaze.
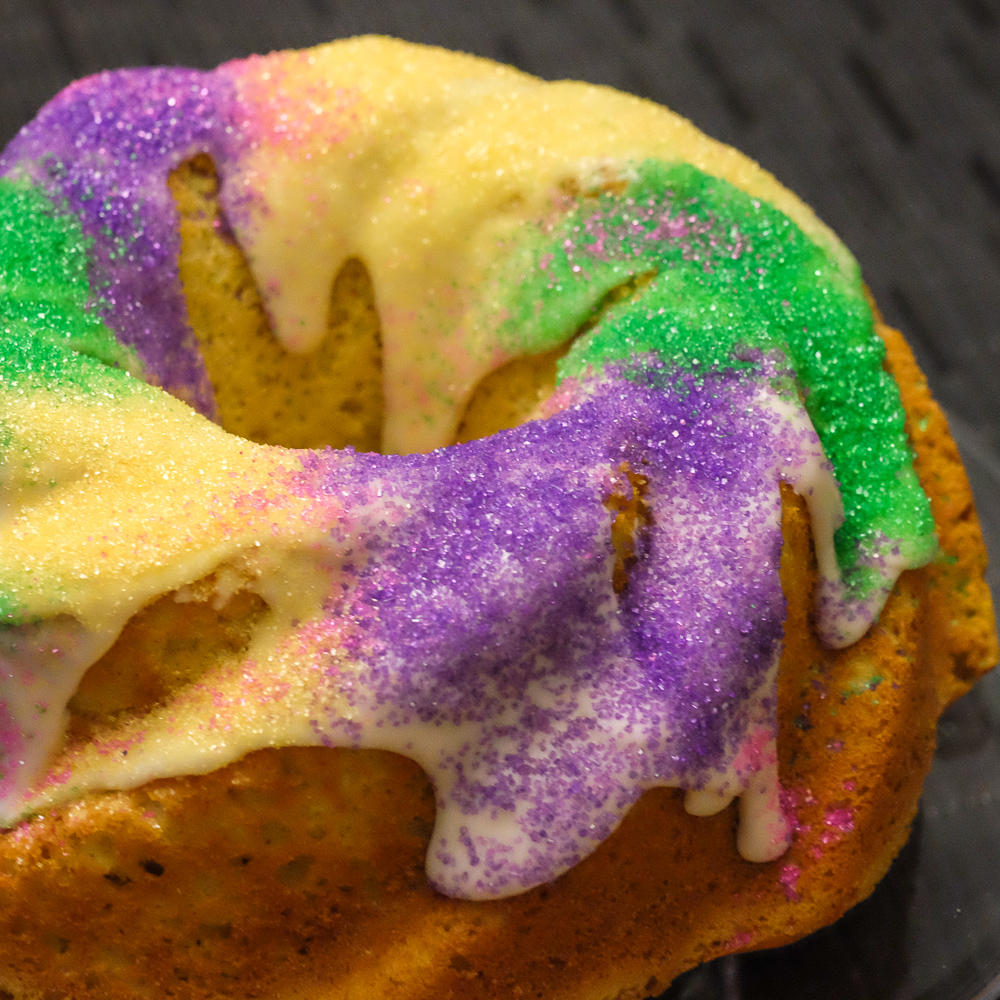
- Immediately pour frosting over cake, and sprinkle colored sugar on top of frosting.

- Enjoy!
Leave a Reply